Part 1: Simple System Echo WebSocket
In this part, you'll build your first WebSocket consumer using Chanx. This simple echo system demonstrates:
Defining type-safe message models with Pydantic
Creating WebSocket consumers with decorators
Handling incoming messages with
@ws_handlerSending server-initiated messages
Direct WebSocket communication (no channel layers)
Starting Point
Make sure you've completed the Prerequisites and have the project set up. If you want to start fresh from checkpoint 0:
git checkout cp0
git reset --hard
Understanding the Echo Flow
The echo system works as follows:
Client connects to
ws://localhost:8000/ws/systemServer sends welcome message immediately
Client sends message → Server echoes back with prefix
No broadcasting - messages only return to the sender
This is direct WebSocket communication, perfect for understanding the basics.
Step 1: Define Message Types
Create the message structure using Pydantic models for validation and type safety.
Create the app directory and init file:
mkdir -p src/apps/system_chat
touch src/apps/system_chat/__init__.py
Create src/apps/system_chat/messages.py:
"""
Message types for the system chat consumer.
"""

from typing import Literal

from chanx.messages.base import BaseMessage
from pydantic import BaseModel


class MessagePayload(BaseModel):
    message: str


class UserMessage(BaseMessage):
    """System message for direct communication."""

    action: Literal["user_message"] = "user_message"
    payload: MessagePayload


class SystemEchoMessage(BaseMessage):
    """System echo response message."""

    action: Literal["system_echo"] = "system_echo"
    payload: MessagePayload
Key points:
MessagePayload- Simple Pydantic model with a message fieldUserMessage- Client sends this withaction: "user_message"SystemEchoMessage- Server responds withaction: "system_echo"The
actionfield withLiteralenables automatic routing
Note
The action field is crucial! Chanx uses it to automatically route incoming messages to the correct handler.
Step 2: Create the WebSocket Consumer
Create src/apps/system_chat/consumer.py:
"""
System Chat Consumer - Direct WebSocket without channel layers.
"""

from chanx.core.decorators import channel, ws_handler
from chanx.messages.incoming import PingMessage
from chanx.messages.outgoing import PongMessage

from src.base_consumer import BaseConsumer

from .messages import MessagePayload, SystemEchoMessage, UserMessage


@channel(
    name="system",
    description="System Messages Consumer - Direct WebSocket without channel layers",
    tags=["system", "direct"],
)
class SystemMessageConsumer(BaseConsumer):
    """
    Consumer for system messages without using channel layers.
    Direct connection without group messaging.
    """

    @ws_handler(
        summary="Handle ping requests",
        description="Simple ping-pong for connectivity testing",
    )
    async def handle_ping(self, _message: PingMessage) -> PongMessage:
        return PongMessage()

    @ws_handler(
        summary="Handle message user send to system",
        description="Echo system messages back directly without using channel layers",
    )
    async def handle_system(self, message: UserMessage) -> SystemEchoMessage:
        """Handle system messages and echo them back directly."""
        return SystemEchoMessage(
            payload=MessagePayload(message=f"🔧 System Echo: {message.payload.message}")
        )

    async def post_authentication(self) -> None:
        """Send connection established message directly to client."""
        await self.send_message(
            SystemEchoMessage(
                payload=MessagePayload(message="🔧 System: Connection established!")
            )
        )
Key components:
@channel decorator - Adds metadata for AsyncAPI documentation (name, description, tags)
@ws_handler decorator - Registers message handlers with automatic routing:
handle_ping()- Responds to ping messages for health checkshandle_system()- Echoes user messages back with a prefixReturn value is automatically sent to the client
post_authentication() - Runs after connection, sends welcome message (server-initiated)
Step 3: Register the WebSocket Route
Edit src/main.py and uncomment the system chat code:
# Uncomment these lines:
from src.apps.system_chat.consumer import (
    SystemMessageConsumer,  # Direct WebSocket (no layers)
)

# ... later in the file:
ws_router.add_websocket_route(
    "/system", SystemMessageConsumer.as_asgi()
)  # Direct WebSocket (no layers)
This registers the consumer at ws://localhost:8000/ws/system
Step 4: Test the Echo System
1. Start the server:
uvicorn src.main:app --reload
2. Open the application:
Visit http://localhost:8000 and navigate to the System Chat page.
3. Test:
The page auto-connects on load - you should see: "🔧 System: Connection established!"
Type a message and send - you should see: "🔧 System Echo: [your message]"
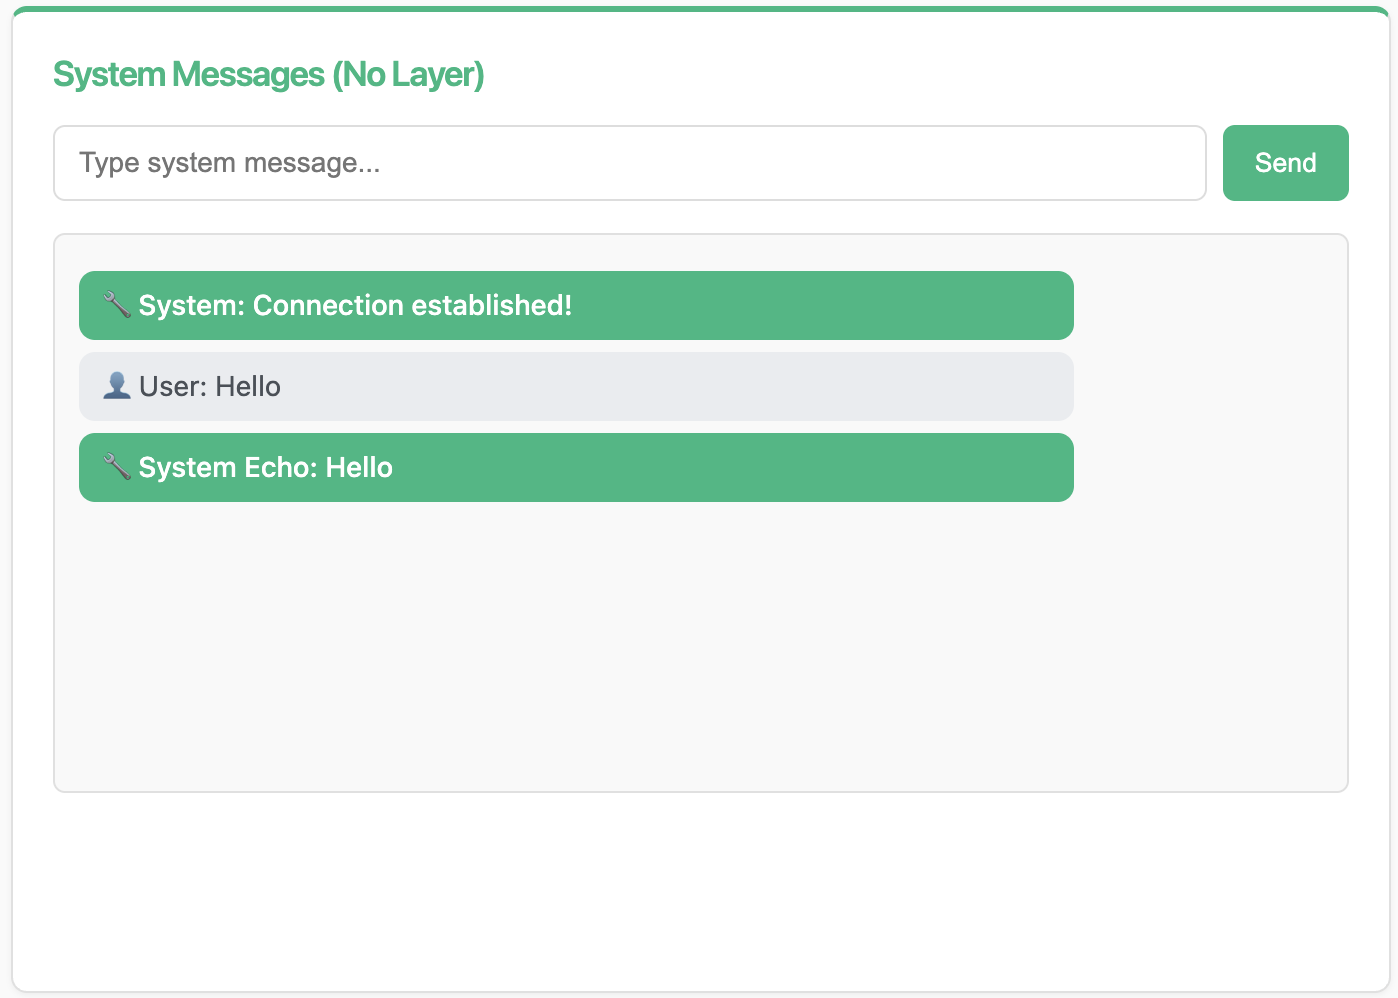
The screenshot shows the System Messages interface with the connection message and an echoed "Hello" message.
Understanding the Message Flow
When you send a message:
Client sends:
{"action": "user_message", "payload": {"message": "Hello"}}
Chanx routes to
handle_system()based on theactionfieldHandler returns
SystemEchoMessageServer sends:
{"action": "system_echo", "payload": {"message": "🔧 System Echo: Hello"}}
How Message Handlers Send Messages
Understanding how messages are sent back to clients is important.
Pattern 1: Return value sends to sender only
@ws_handler
async def handle_user_message(self, message: UserMessage) -> SystemEchoMessage:
    # What you return goes back to the sender only
    return SystemEchoMessage(payload=...)
The returned message is automatically sent to the client who sent the original message.
Pattern 2: Broadcasting to multiple users
@ws_handler(output_type=RoomNotificationMessage)
async def handle_chat(self, message: ChatMessage) -> None:
    # Explicitly broadcast to send to multiple users
    await self.broadcast_message(
        RoomNotificationMessage(payload=...),
        groups=["room_general"]  # Can be omitted if groups defined as class attribute
    )
When broadcasting:
Return type is
None(not sending directly to sender)Use
output_typeparameter in@ws_handlerfor API documentationCall
broadcast_message()explicitlygroupsparameter can be omitted if already defined as class attribute
Note
You'll see more advanced messaging patterns, including server-to-server communication with event handlers, in Part 3.
AsyncAPI Documentation Mapping
The @ws_handler decorator generates AsyncAPI RECEIVE actions (documenting what messages clients can send). When handlers have a return type or output_type parameter, the RECEIVE action includes a reply field describing the response message.
See also
For detailed information about AsyncAPI mapping, see Consumers & Decorators → AsyncAPI Documentation Mapping section.
Key Concepts Review
Message Types:
Extend
BaseMessageUse
Literalfor theactionfieldAutomatic validation with Pydantic
Consumer:
Extend
BaseConsumerUse
@channelfor metadataUse
post_authentication()for connection setup
Handlers:
Use
@ws_handlerto register handlersAutomatic routing based on message type
Return message to send to client
FastAPI Integration:
Use
app.add_websocket_route(path, Consumer.as_asgi())
What's Next?
You've built your first WebSocket consumer! You now understand:
✅ Type-safe message handling
✅ Automatic message routing
✅ Direct WebSocket communication
✅ Server-initiated messages
In the next part, you'll build a room-based chat system with:
Dynamic URL routing with path parameters
Channel layers for broadcasting
Group-based message distribution