Part 2: Chat WebSocket
In this part, you'll build your first real-time chat application using Chanx. You'll learn the core concepts of Chanx:
Defining type-safe message models with Pydantic
Creating WebSocket consumers
Handling incoming messages with decorators
Broadcasting messages to groups
Dynamic routing with URL parameters
By the end, you'll have a working chat room where multiple users can send and receive messages in real-time.
Starting Point
Make sure you've completed Part 1 and have Chanx properly installed. If you want to start fresh from checkpoint 1:
git checkout cp1
git reset --hard
Understanding the Chat Flow
Before we start coding, let's understand how the chat system works:
Client connects to
ws://localhost:8000/ws/chat/<group_name>/(e.g.,/ws/chat/room1/)Server adds client to the group specified in the URL
Client sends message with their name and message text
Server broadcasts the message to all other clients in the same group
All clients receive the message and display it
The beauty of Chanx is that it handles the routing, validation, and type safety automatically!
Step 1: Define Message Types
First, create a file to define your message structure. This uses Pydantic models for validation and type safety.
Create chanx_django/chat/messages.py:
from typing import Literal

from chanx.messages.base import BaseMessage
from pydantic import BaseModel


class ChatMessagePayload(BaseModel):
    message: str
    name: str


class NewChatMessage(BaseMessage):
    action: Literal["new_chat_message"] = "new_chat_message"
    payload: ChatMessagePayload
What's happening here?
ChatMessagePayload- A Pydantic model defining the data structure (message text and sender name)NewChatMessage- The actual message that will be sent over WebSocketExtends
BaseMessage(required for all Chanx messages)actionfield usesLiteral["new_chat_message"]- this is the discriminator that Chanx uses for automatic routingpayloadcontains the actual data
Note
The action field with Literal type is crucial! Chanx uses this to automatically route incoming messages to the correct handler. The action value must be unique within each consumer.
Step 2: Create the WebSocket Consumer
Now let's create the consumer that handles WebSocket connections and messages.
Create directory chat/consumers/:
mkdir -p chanx_django/chat/consumers
touch chanx_django/chat/consumers/__init__.py
Create chanx_django/chat/consumers/chat_consumer.py:
from chanx.channels.websocket import AsyncJsonWebsocketConsumer
from chanx.core.decorators import ws_handler
from chanx.messages.incoming import PingMessage
from chanx.messages.outgoing import PongMessage

from chat.messages import NewChatMessage


class ChatConsumer(AsyncJsonWebsocketConsumer):
    async def post_authentication(self) -> None:
        assert self.channel_layer
        self.group_name = self.scope["url_route"]["kwargs"]["group_name"]
        self.groups.append(self.group_name)
        await self.channel_layer.group_add(self.group_name, self.channel_name)

    @ws_handler
    async def handle_ping(self, _message: PingMessage) -> PongMessage:
        return PongMessage()

    @ws_handler(output_type=NewChatMessage)
    async def handle_new_chat_message(self, message: NewChatMessage) -> None:
        await self.broadcast_message(message, exclude_current=True)
Let's break this down:
1. Class Definition:
class ChatConsumer(AsyncJsonWebsocketConsumer):
Extends Chanx's AsyncJsonWebsocketConsumer, which provides WebSocket handling with JSON serialization.
2. Post Authentication Hook:
async def post_authentication(self) -> None:
    assert self.channel_layer
    self.group_name = self.scope["url_route"]["kwargs"]["group_name"]
    self.groups.append(self.group_name)
    await self.channel_layer.group_add(self.group_name, self.channel_name)
This method runs after a client connects:
Extracts
group_namefrom the URL (e.g., from/ws/chat/room1/, group_name is "room1")Adds the group to
self.groupslist (for automatic cleanup on disconnect)Joins the channel layer group (enables broadcasting to all connections in this group)
3. Ping Handler:
@ws_handler
async def handle_ping(self, _message: PingMessage) -> PongMessage:
    return PongMessage()
The @ws_handler decorator registers this method as a message handler:
Automatically routes incoming messages with
action: "ping"to this handlerValidates incoming message against
PingMessagetypeReturns
PongMessagewhich is automatically sent back to the client
Note
PingMessage and PongMessage are built-in message types provided by Chanx for health checks.
4. Chat Message Handler:
@ws_handler(output_type=NewChatMessage)
async def handle_new_chat_message(self, message: NewChatMessage) -> None:
    await self.broadcast_message(message, exclude_current=True)
This is the core chat functionality:
@ws_handler(output_type=NewChatMessage)- Declares that this handler broadcastsNewChatMessage(used for AsyncAPI docs)Automatically validates incoming messages against
NewChatMessagetypebroadcast_message()sends the message to all clients in the same groupexclude_current=Truemeans the sender won't receive their own message back
How Message Handlers Send Messages
Understanding how messages are sent back to clients is important.
Pattern 1: Return value sends to sender only
@ws_handler
async def handle_ping(self, message: PingMessage) -> PongMessage:
    # What you return goes back to the sender only
    return PongMessage()
The handle_ping method demonstrates this - it returns PongMessage which is automatically sent to the client who sent the ping.
Pattern 2: Broadcasting to multiple users
@ws_handler(output_type=NewChatMessage)
async def handle_new_chat_message(self, message: NewChatMessage) -> None:
    # Explicitly broadcast to send to multiple users
    await self.broadcast_message(message, exclude_current=True)
The handle_new_chat_message method demonstrates this:
Return type is
None(not sending directly to sender)Use
output_typeparameter in@ws_handlerfor API documentationCall
broadcast_message()explicitly to send to all group membersexclude_current=Truemeans the sender won't receive their own message
Note
You'll see more advanced messaging patterns, including server-to-server communication with event handlers, in Part 4.
AsyncAPI Documentation Mapping
The @ws_handler decorator generates AsyncAPI RECEIVE actions (documenting what messages clients can send). When handlers have a return type or output_type parameter, the RECEIVE action includes a reply field describing the response message.
See also
For detailed information about AsyncAPI mapping, see Consumers & Decorators → AsyncAPI Documentation Mapping section.
Step 3: Create WebSocket Routing
Now we need to set up routing so WebSocket connections reach our consumer.
Create chanx_django/chat/routing.py:
from channels.routing import URLRouter
from chanx.channels.routing import path

from chat.consumers.chat_consumer import ChatConsumer

router = URLRouter(
    [
        path("<str:group_name>/", ChatConsumer.as_asgi()),
    ]
)
What this does:
Creates a
URLRouterfor the chat apppath("<str:group_name>/", ...)- Dynamic route that captures the group name from the URLChatConsumer.as_asgi()- Converts the consumer to an ASGI application
So if a client connects to /ws/chat/room1/, the group_name will be "room1".
Step 4: Enable Chat Routing
Finally, we need to include the chat routing in the main WebSocket router.
Edit chanx_django/config/routing.py and uncomment the chat line:
from channels.routing import URLRouter
from chanx.channels.routing import include, path

ws_router = URLRouter(
    [
        path("chat/", include("chat.routing")),  # Uncomment this line
        # path("assistants/", include("assistants.routing")),
        # path("system/", include("system.routing")),
    ]
)

router = URLRouter(
    [
        path("ws/", include(ws_router)),
    ]
)
Now the full WebSocket URL structure is:
/ws/chat/<group_name>/→ChatConsumer
Testing the Chat
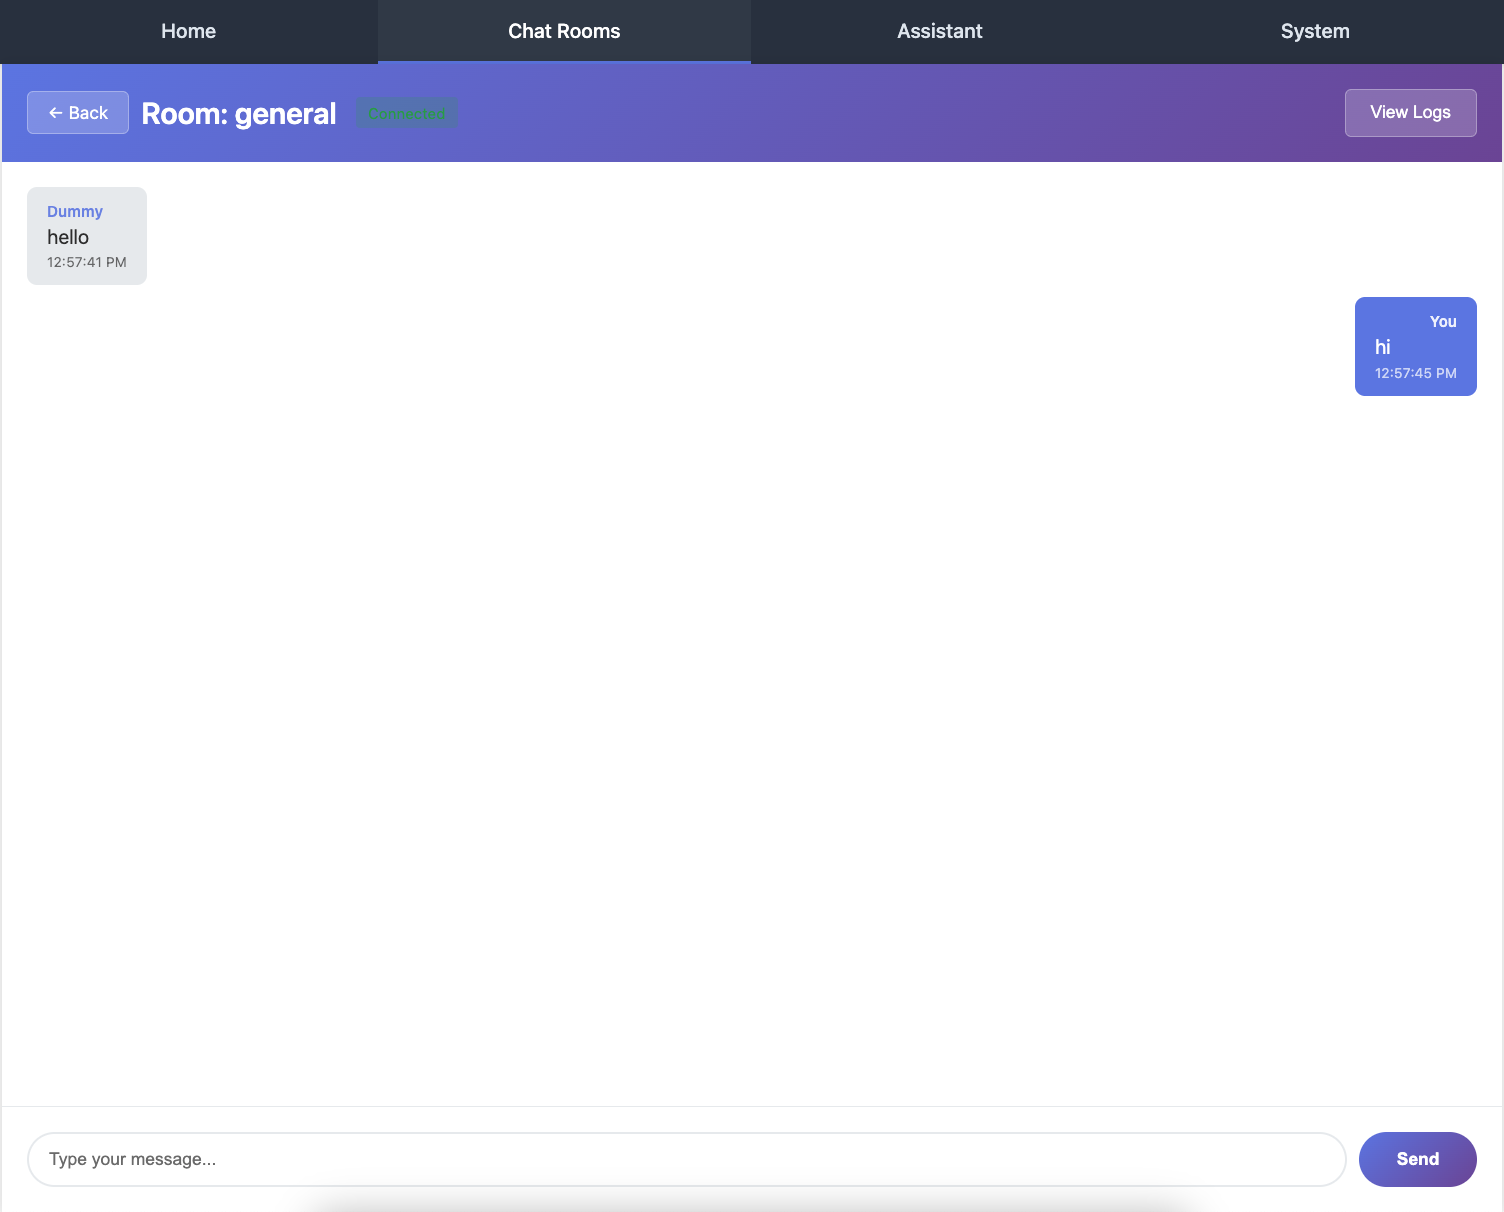
Let's test the chat functionality!
1. Start the Development Server:
python chanx_django/manage.py runserver
2. Open Multiple Browser Windows:
Visit http://localhost:8000/chat/ in 2-3 different browser windows or tabs.
3. Join the Same Chat Room:
In each browser window:
Enter a name (e.g., "Alice", "Bob", "Charlie")
Enter a room name (e.g., "room1")
Click "Join"
4. Send Messages:
Type messages in any window and press Enter or click Send. You should see:
The message appears in all other windows (but not the sender's window, because of
exclude_current=True)Messages are delivered in real-time
Each message shows the sender's name
5. Test Different Rooms:
Open another browser window and join a different room (e.g., "room2"). Messages in "room1" won't appear in "room2" - they're isolated by group.
6. View AsyncAPI Documentation:
Visit http://localhost:8000/asyncapi/docs/ to see your chat API automatically documented:
The
NewChatMessageinput/output typesThe
PingMessage/PongMessagehandlersMessage schemas with field descriptions
Understanding the Code Flow
Let's trace what happens when Alice sends a message:
Client (Alice's browser) sends JSON:
{
  "action": "new_chat_message",
  "payload": {
    "message": "Hello everyone!",
    "name": "Alice"
  }
}
Chanx automatically:
Receives the WebSocket message
Looks at the
actionfield ("new_chat_message")Routes it to
handle_new_chat_message()based on theNewChatMessagetype annotationValidates the message structure using Pydantic
Handler executes:
await self.broadcast_message(message, exclude_current=True)
Broadcasts the message to all connections in the group
Excludes Alice's connection (she already sees her message in the UI)
Other clients (Bob, Charlie) receive the message and display it
Key Concepts Review
Let's review what you've learned:
Message Types:
Messages extend
BaseMessageUse
Literaltype for theactionfield (discriminator)Payload can be any Pydantic model
Automatic validation and type checking
Consumer:
Extend
AsyncJsonWebsocketConsumerUse
post_authentication()to run code after connectionJoin groups using
channel_layer.group_add()
Handlers:
Use
@ws_handlerdecoratorChanx automatically routes based on message type
Return a message to send to the client
Use
broadcast_message()to send to groups
Routing:
Use Chanx's
path()andinclude()functionsSupport dynamic URL parameters
Hierarchical routing structure
Common Patterns
Pattern 1: Access URL Parameters
group_name = self.scope["url_route"]["kwargs"]["group_name"]
Pattern 2: Broadcast to Group
await self.broadcast_message(message, exclude_current=True)
Pattern 3: Send to Current Client Only
await self.send_message(message)
Pattern 4: Return Message from Handler
@ws_handler
async def handle_something(self, message: SomeMessage) -> ResponseMessage:
    return ResponseMessage(payload=...)  # Automatically sent to client
What's Next?
Congratulations! You've built a real-time chat application with:
✅ Type-safe message handling
✅ Automatic message routing and validation
✅ Group broadcasting
✅ Dynamic URL routing
✅ Auto-generated AsyncAPI documentation
The code at this point matches the cp2 branch:
git checkout cp2
In the next part, you'll build an AI assistants chat system that demonstrates:
Server-initiated messages
More complex message structures
Integration with external services (AI APIs)
Advanced broadcasting patterns