Part 1: Setup Chanx
In this part, you'll set up the foundational Django project and install Chanx. By the end, you'll have:
A running Django project with Channels configured
Chanx installed and integrated
WebSocket routing configured
AsyncAPI documentation accessible
Starting Point: Checkpoint 0
First, check out the cp0 branch which has the initial Django project setup:
git checkout cp0
What's Already Included
The cp0 branch includes a Django project with:
Core Setup:
Django project with basic configuration
HTML templates and views for:
Landing page
Chat page UI (no backend WebSocket code yet)
Assistants page UI (no backend WebSocket code yet)
System/notifications page UI (no backend WebSocket code yet)
Shared chat component UI
Django Channels Setup:
Django Channels installed and configured
Daphne (ASGI server) for running WebSocket with
runserverRedis installed via Docker Compose
Channel layer configured to use Redis
Development Tools:
pyright - Static type checker
mypy - Another static type checker
ruff - Fast Python linter
black - Code formatter
pre-commit hooks configured
Installing Dependencies
1. Start Redis with Docker Compose:
Redis is required for Django Channels' channel layer, which enables broadcasting messages to multiple WebSocket connections.
docker compose up -d
This starts Redis in the background. You should see output indicating Redis has started successfully.
2. Create Virtual Environment and Install Dependencies:
Using uv, set up your Python environment:
# Create virtual environment with pip/setuptools/wheel
uv venv --seed

# Install all dependencies (including dev tools)
uv sync --all-extras
This installs Django, Channels, and all the development tools. The --all-extras flag ensures you get everything needed for development.
3. Activate Virtual Environment:
# On macOS/Linux:
source .venv/bin/activate

# On Windows:
.venv\Scripts\activate
You should see (.venv) prefix in your terminal prompt, indicating the virtual environment is active.
4. Run Database Migrations:
python chanx_django/manage.py migrate
This sets up the initial database tables for Django.
5. Verify the Setup:
Let's make sure everything works before adding Chanx:
# Start the development server
python chanx_django/manage.py runserver
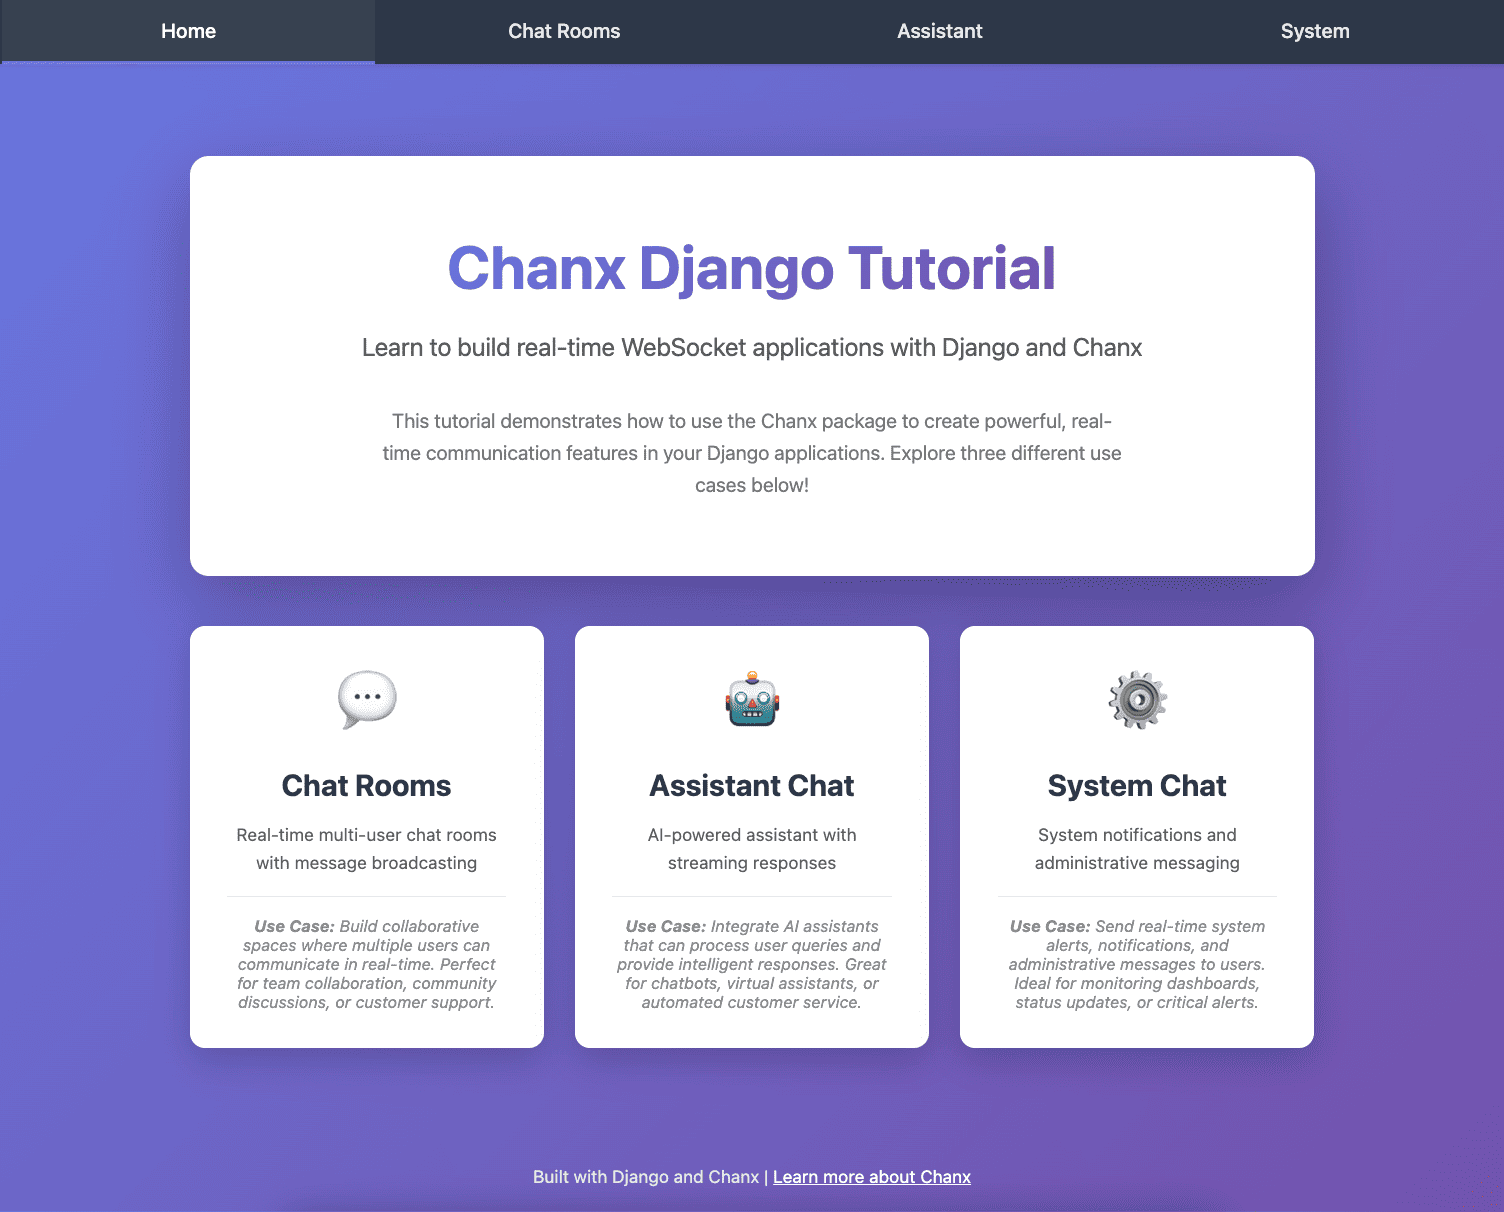
Visit http://localhost:8000 in your browser. You should see the landing page with links to Chat, Assistants, and System pages. The pages display UI, but WebSocket functionality doesn't work yet since we haven't implemented the backend.
Press Ctrl+C to stop the server.
Installing Chanx
Now let's add Chanx to the project:
uv add "chanx[channels]"
This installs Chanx with Django Channels support. The [channels] extra includes all the Django-specific integrations.
Configuring Chanx
We need to make several changes to integrate Chanx into the Django project.
1. Add Chanx to Installed Apps
Edit chanx_django/config/settings/base.py and add "chanx.channels" to INSTALLED_APPS:
INSTALLED_APPS = [
    # Django apps
    "django.contrib.admin",
    "django.contrib.auth",
    "django.contrib.contenttypes",
    "django.contrib.sessions",
    "django.contrib.messages",
    "django.contrib.staticfiles",
    # Third-party apps
    "channels",
    "drf_spectacular",
    "chanx.channels",  # Add this line
    # Local apps
    "core",
    "chat",
    "assistants",
    "system",
]
This registers Chanx's Django app, which enables the AsyncAPI documentation URLs and other features.
2. Create WebSocket Routing Configuration
Create a new file chanx_django/config/routing.py to manage WebSocket routing:
"""
WebSocket routing configuration for the project.

This module defines the WebSocket URL routing structure using Chanx's
routing utilities. Routes are organized by app and mounted under /ws/.
"""
from channels.routing import URLRouter
from chanx.channels.routing import include, path

# Main WebSocket router - include app-specific routers here
ws_router = URLRouter(
    [
        # Uncomment these as you implement each app:
        # path("chat/", include("chat.routing")),
        # path("assistants/", include("assistants.routing")),
        # path("system/", include("system.routing")),
    ]
)

# Top-level router - mounts all WebSocket routes under /ws/
router = URLRouter(
    [
        path("ws/", include(ws_router)),
    ]
)
This creates a hierarchical routing structure:
All WebSocket connections will be under
/ws/Each app (chat, assistants, system) will have its own sub-router
We're using Chanx's
include()andpath()functions, which work like Django's URL routing
3. Update ASGI Configuration
Edit chanx_django/config/asgi.py to use Chanx routing:
"""
ASGI config for the project.

This module exposes the ASGI application for both HTTP and WebSocket protocols.
"""
import os

from channels.routing import ProtocolTypeRouter
from channels.sessions import CookieMiddleware
from chanx.channels.routing import include
from django.core.asgi import get_asgi_application

os.environ.setdefault("DJANGO_SETTINGS_MODULE", "config.settings.base")

# Get Django ASGI application for HTTP
django_asgi_app = get_asgi_application()

# Define protocol routing
routing = {
    "http": django_asgi_app,
    "websocket": CookieMiddleware(include("config.routing")),
}

application: ProtocolTypeRouter = ProtocolTypeRouter(routing)
Key changes:
Import
CookieMiddlewarefrom channels.sessions (for session support in WebSockets)Import
includefrom chanx.channels.routingWrap the WebSocket routing with
CookieMiddlewareto access Django sessionsUse
include("config.routing")to load our routing configuration
4. Add AsyncAPI Documentation URL
Edit chanx_django/config/urls.py to include Chanx's AsyncAPI documentation:
from django.contrib import admin
from django.urls import include, path

urlpatterns = [
    path("admin/", admin.site.urls),
    path("", include("core.urls")),
    path("chat/", include("chat.urls")),
    path("assistants/", include("assistants.urls")),
    path("system/", include("system.urls")),
    path("asyncapi/", include("chanx.channels.urls")),  # Add this line
]
This makes AsyncAPI documentation available at /asyncapi/.
Testing the Setup
Now let's verify everything is working:
1. Run the Development Server:
python chanx_django/manage.py runserver
2. View the Landing Page:
Visit http://localhost:8000 - you should see the same landing page as before.
3. View AsyncAPI Documentation:
Visit http://localhost:8000/asyncapi/docs/ - you should see an AsyncAPI documentation page. It will be mostly empty since we haven't created any consumers yet, but it confirms Chanx is properly installed.
Note
If you see a 404 error, make sure you:
Added
"chanx.channels"toINSTALLED_APPSAdded
path("asyncapi/", include("chanx.channels.urls"))tourlpatternsRestarted the development server
Code Quality Tools
The project includes linting and type checking tools (ruff, black, mypy, pyright) already installed with uv sync --all-extras.
Install pre-commit hooks (recommended):
pre-commit install
This auto-runs linting, formatting, and checks before each commit.
Manual checks:
# Lint and format
scripts/lint.sh          # Check
scripts/lint.sh --fix    # Auto-fix

# Type check
mypy chanx_django        # Using mypy
pyright                  # Using pyright

# Run all pre-commit checks manually
pre-commit run --all-files
What's Next?
Congratulations! You've successfully set up Chanx with Django. Your project now has:
✅ Chanx installed with Django Channels support
✅ WebSocket routing structure configured
✅ AsyncAPI documentation available
✅ All development tools ready to use
The code at this point matches the cp1 branch. You can verify by checking out cp1:
git checkout cp1
In the next part, you'll build your first WebSocket consumer for the chat application, learning how to:
Define message types with Pydantic
Create consumers with the
@channeldecoratorHandle WebSocket messages with
@ws_handlerBroadcast messages to groups
See your API automatically documented in AsyncAPI