FastAPI Tutorial: Prerequisites
Welcome to the Chanx FastAPI tutorial! This hands-on tutorial will guide you through building a real-world WebSocket application with FastAPI and Chanx, covering:
Simple echo WebSocket with system messages
Real-time room chat with channel layers
Background job processing with ARQ workers and WebSocket notifications
Multi-layer WebSocket with external messaging
Comprehensive WebSocket testing
By the end of this tutorial, you'll understand how to use Chanx to create structured, type-safe WebSocket applications with FastAPI and automatic documentation.
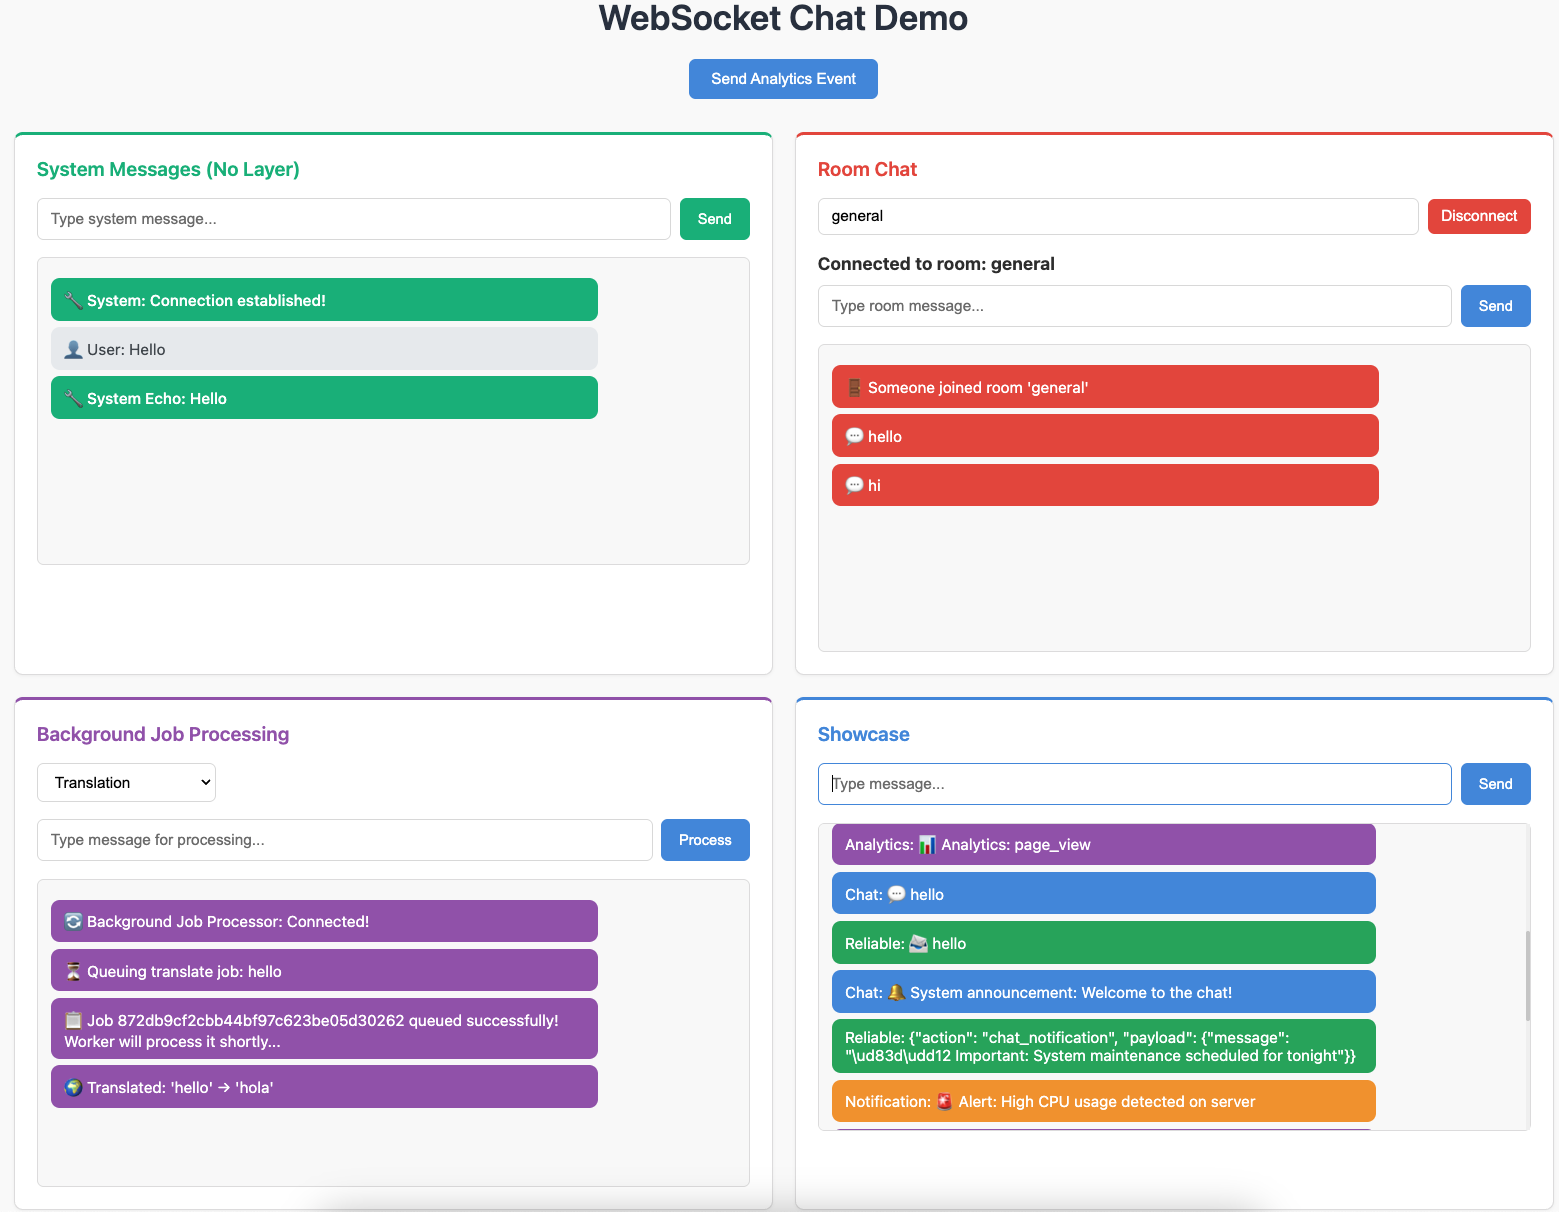
This is what you'll build - a complete WebSocket application with system messages, room chat, background job processing, and a multi-layer showcase.
Prerequisites
Before starting this tutorial, you should have:
Required Knowledge:
Basic understanding of Python and async/await
Familiarity with FastAPI web framework (recommended)
Basic understanding of WebSockets (what they are and why they're useful)
Required Tools:
Docker - For running Redis (used for channel layers and ARQ)
uv - Python package installer (https://docs.astral.sh/uv/)
Git - For cloning the tutorial repository
Installing Prerequisites
If you don't have these tools installed:
Install Docker:
Visit https://docs.docker.com/get-docker/ and follow the instructions for your operating system.
Install uv:
# macOS and Linux
curl -LsSf https://astral.sh/uv/install.sh | sh

# Windows
powershell -c "irm https://astral.sh/uv/install.ps1 | iex"
Getting the Tutorial Code
Clone the tutorial repository:
git clone https://github.com/huynguyengl99/chanx-fastapi-tutorial.git
cd chanx-fastapi-tutorial
Starting Point: Checkpoint 0
Check out the cp0 branch to start from the beginning:
git checkout cp0
What's Included in cp0
The cp0 branch provides a minimal starting point with:
Base Files:
src/base_consumer.py- Pre-configured base consumer class:import os from chanx.fast_channels.websocket import AsyncJsonWebsocketConsumer, ReceiveEvent class BaseConsumer(AsyncJsonWebsocketConsumer[ReceiveEvent]): send_completion = bool(os.environ.get("SEND_COMPLETION", None))
src/main.py- FastAPI application with all WebSocket routes commented outsrc/static/- HTML, CSS, and JavaScript files for the frontend UI
Infrastructure:
docker-compose.yml- Redis configurationpyproject.toml- All dependencies pre-configured
Development Tools:
ruff - Python linter and formatter
mypy - Static type checker
pyright - Fast static type checker
pre-commit - Git hooks for code quality
pytest - Testing framework
Note
For your own projects, you can install Chanx with FastAPI support using:
pip install "chanx[fast_channels]"
For production with Redis channel layers, use:
pip install "chanx[fast_channels]" "fast-channels[redis]"
Installing Dependencies
1. Start Redis:
docker compose up -d
2. Create Virtual Environment and Install Dependencies:
# Create virtual environment
uv venv --seed

# Install all dependencies
uv sync --all-extras
3. Activate Virtual Environment:
# On macOS/Linux:
source .venv/bin/activate

# On Windows:
.venv\Scripts\activate
4. Verify the Setup:
# Start the development server
uvicorn src.main:app --reload
Visit http://localhost:8000 in your browser. You should see the landing page.
Code Quality Tools
Install pre-commit hooks (recommended):
pre-commit install
Manual checks:
# Lint and format
ruff check .
ruff format .

# Type check
mypy src
pyright

# Run tests
pytest
Next Steps
You're now ready to start building! Head to Part 1 to implement your first WebSocket consumer: